MY WEDDING DRESS
DESIGNED AND CREATED BY ME
So, how this all started - I was searching everywhere for the perfect dress that had all the features I wanted but I couldn’t find one. I was searching online and had become so accustomed to putting in the filters the things I knew I wanted in a dress, that I thought I should draw what I had in my head so I could get more clarity on what I was looking for. It was only after I drew this that I then had the crazy idea of making it myself. And I really do mean that I was crazy for thinking this because I was certainly not a professional dressmaker and I only had three and a half months (at that point) to make it!
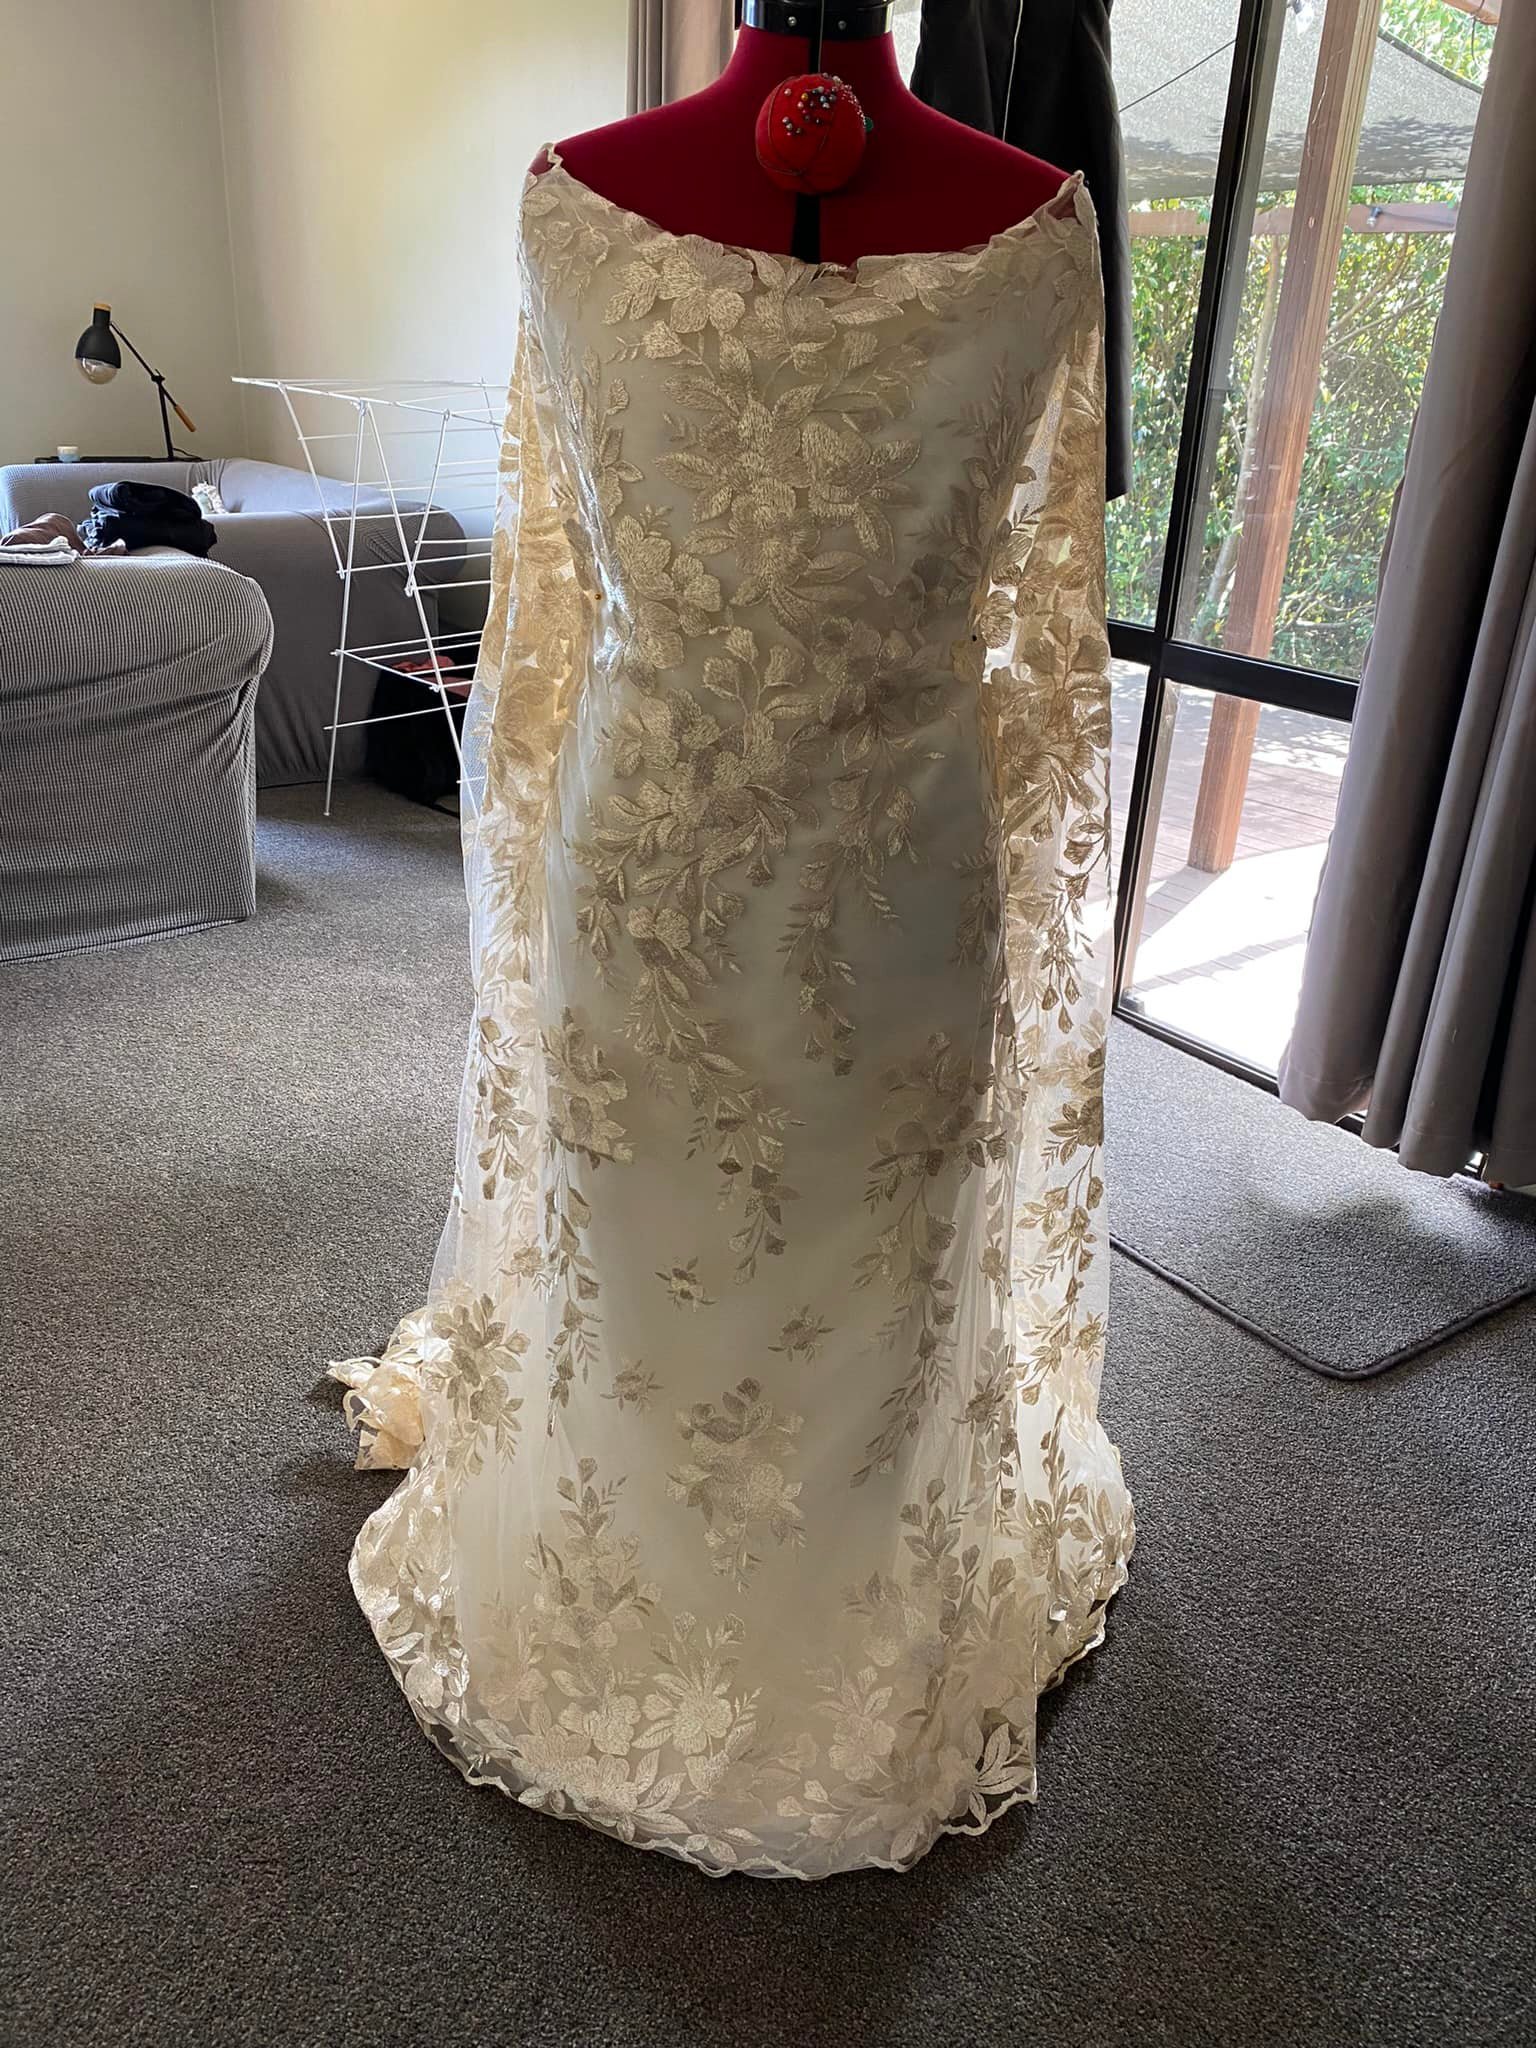
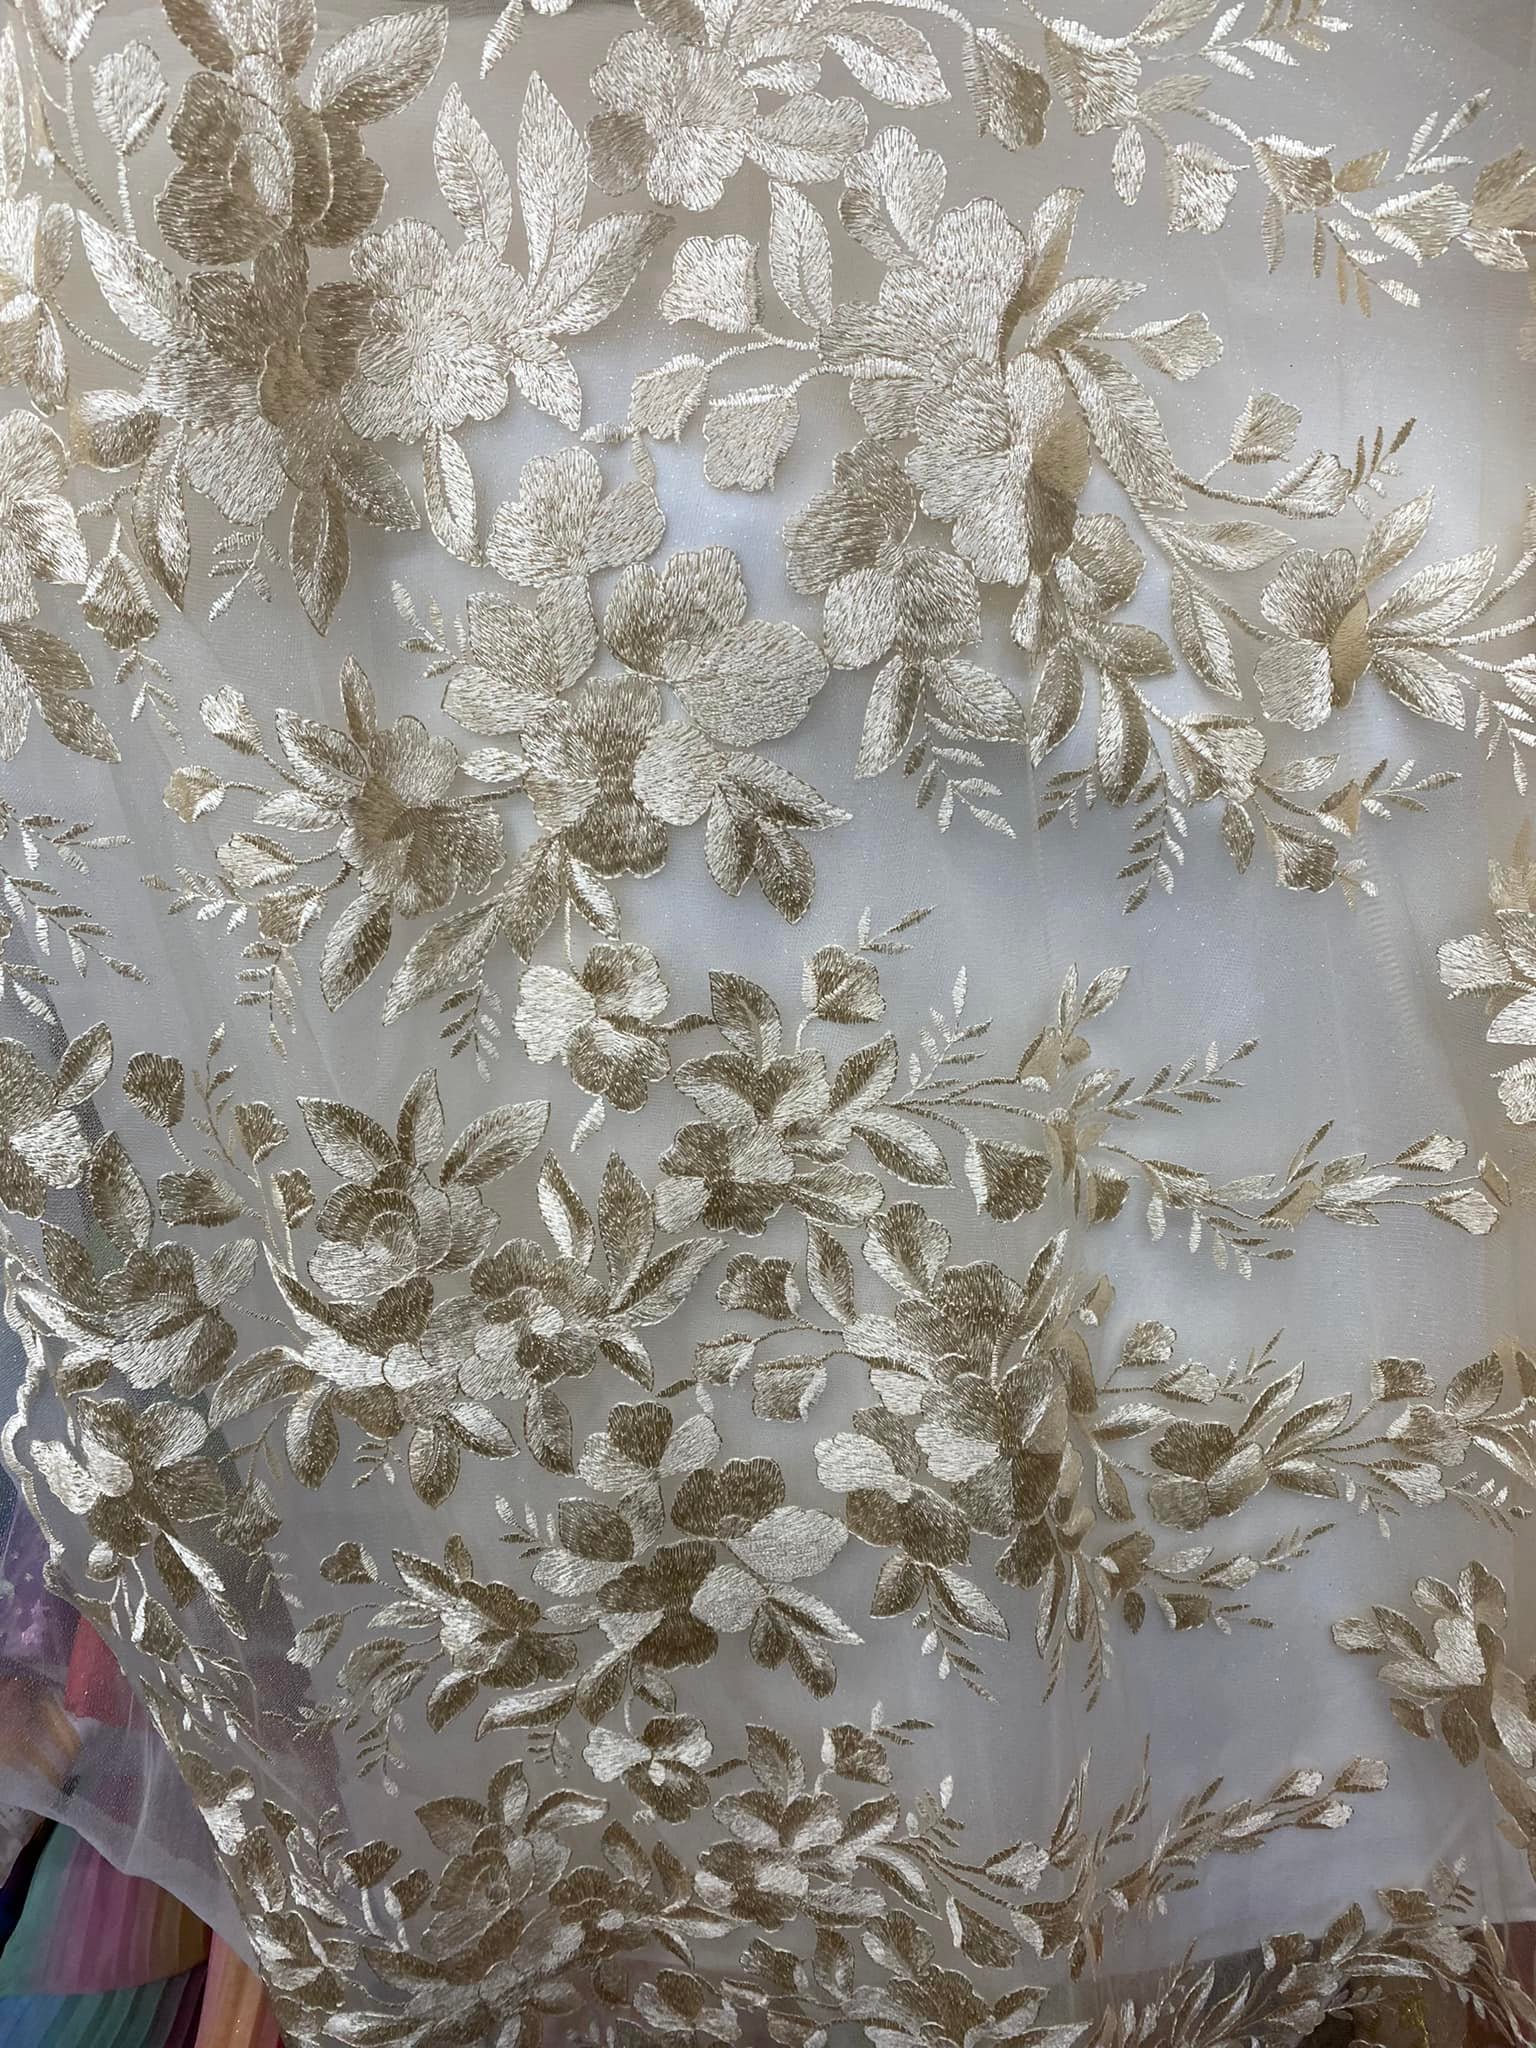
I layered ivory satin, glitter tulle and champagne lace to see how the colours and materials might work together before buying approximately the amount of material I thought I might need. I draped the fabric over my dress-making mannequin at home to get an idea of how it might look. I also wanted to check that the lace looked nice against my skin because I knew I wouldn’t have a satin layer under the lace for the sleeves. Thankfully I thought it still looked good!
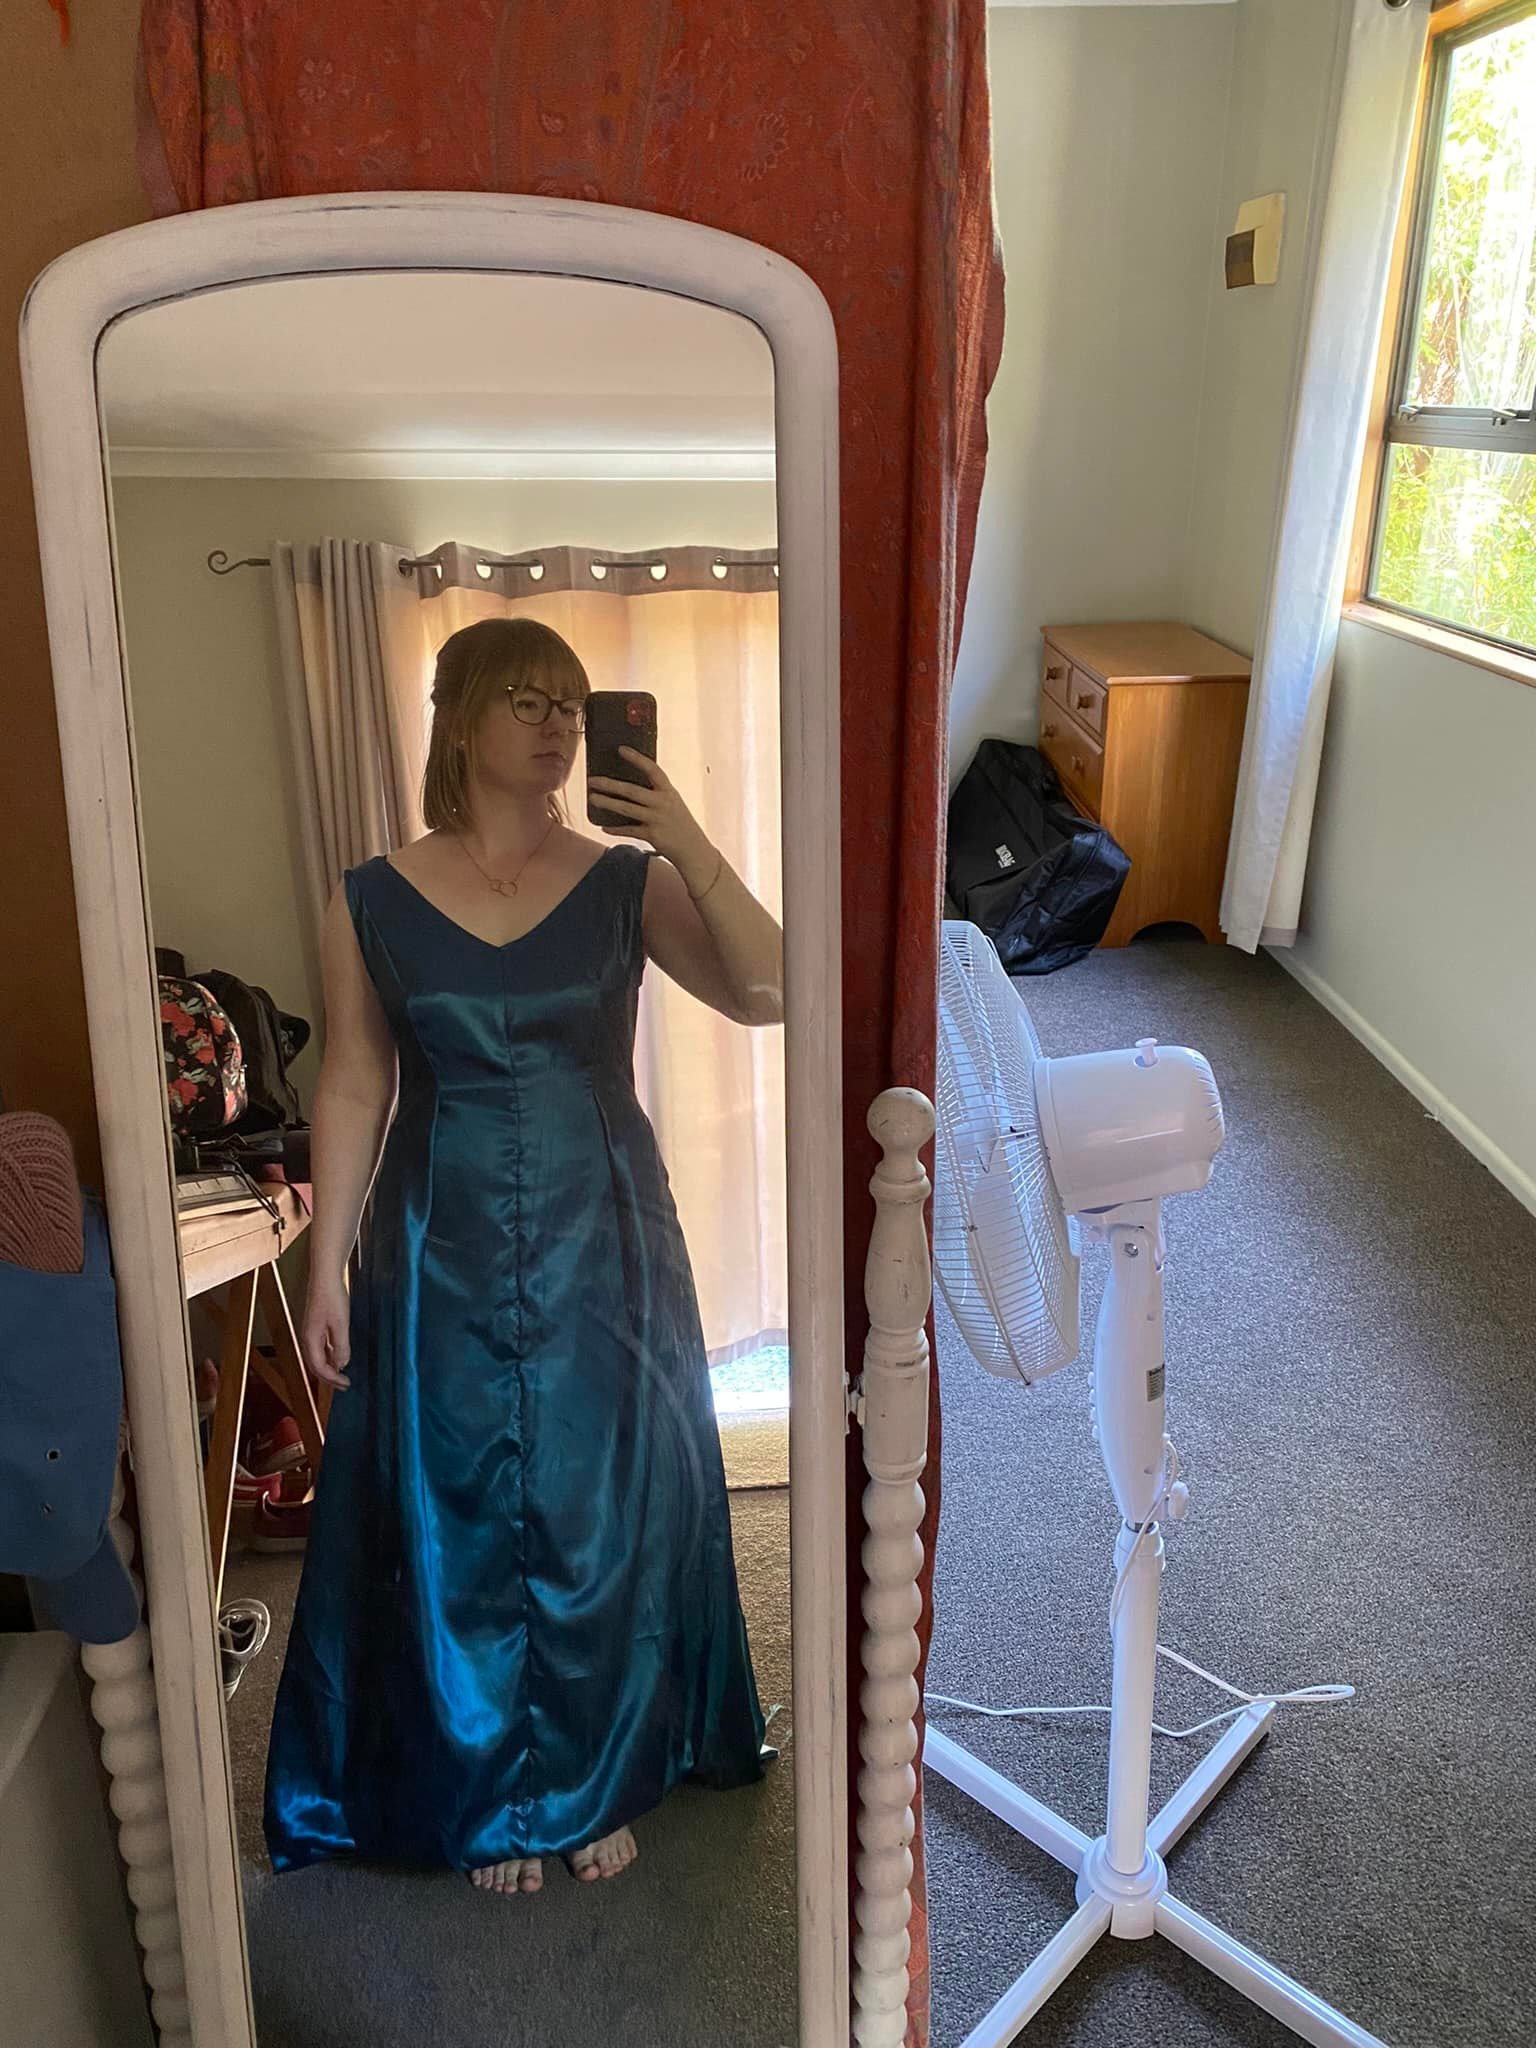
I found a black knee-length dress in my wardrobe and decided to base my dress pattern off of it because I liked how it fitted me. I traced the dress pattern and then changed it to suit my design. I lengthened it, I added sleeves, I changed the neckline, I gave it a low back, and I added pockets.
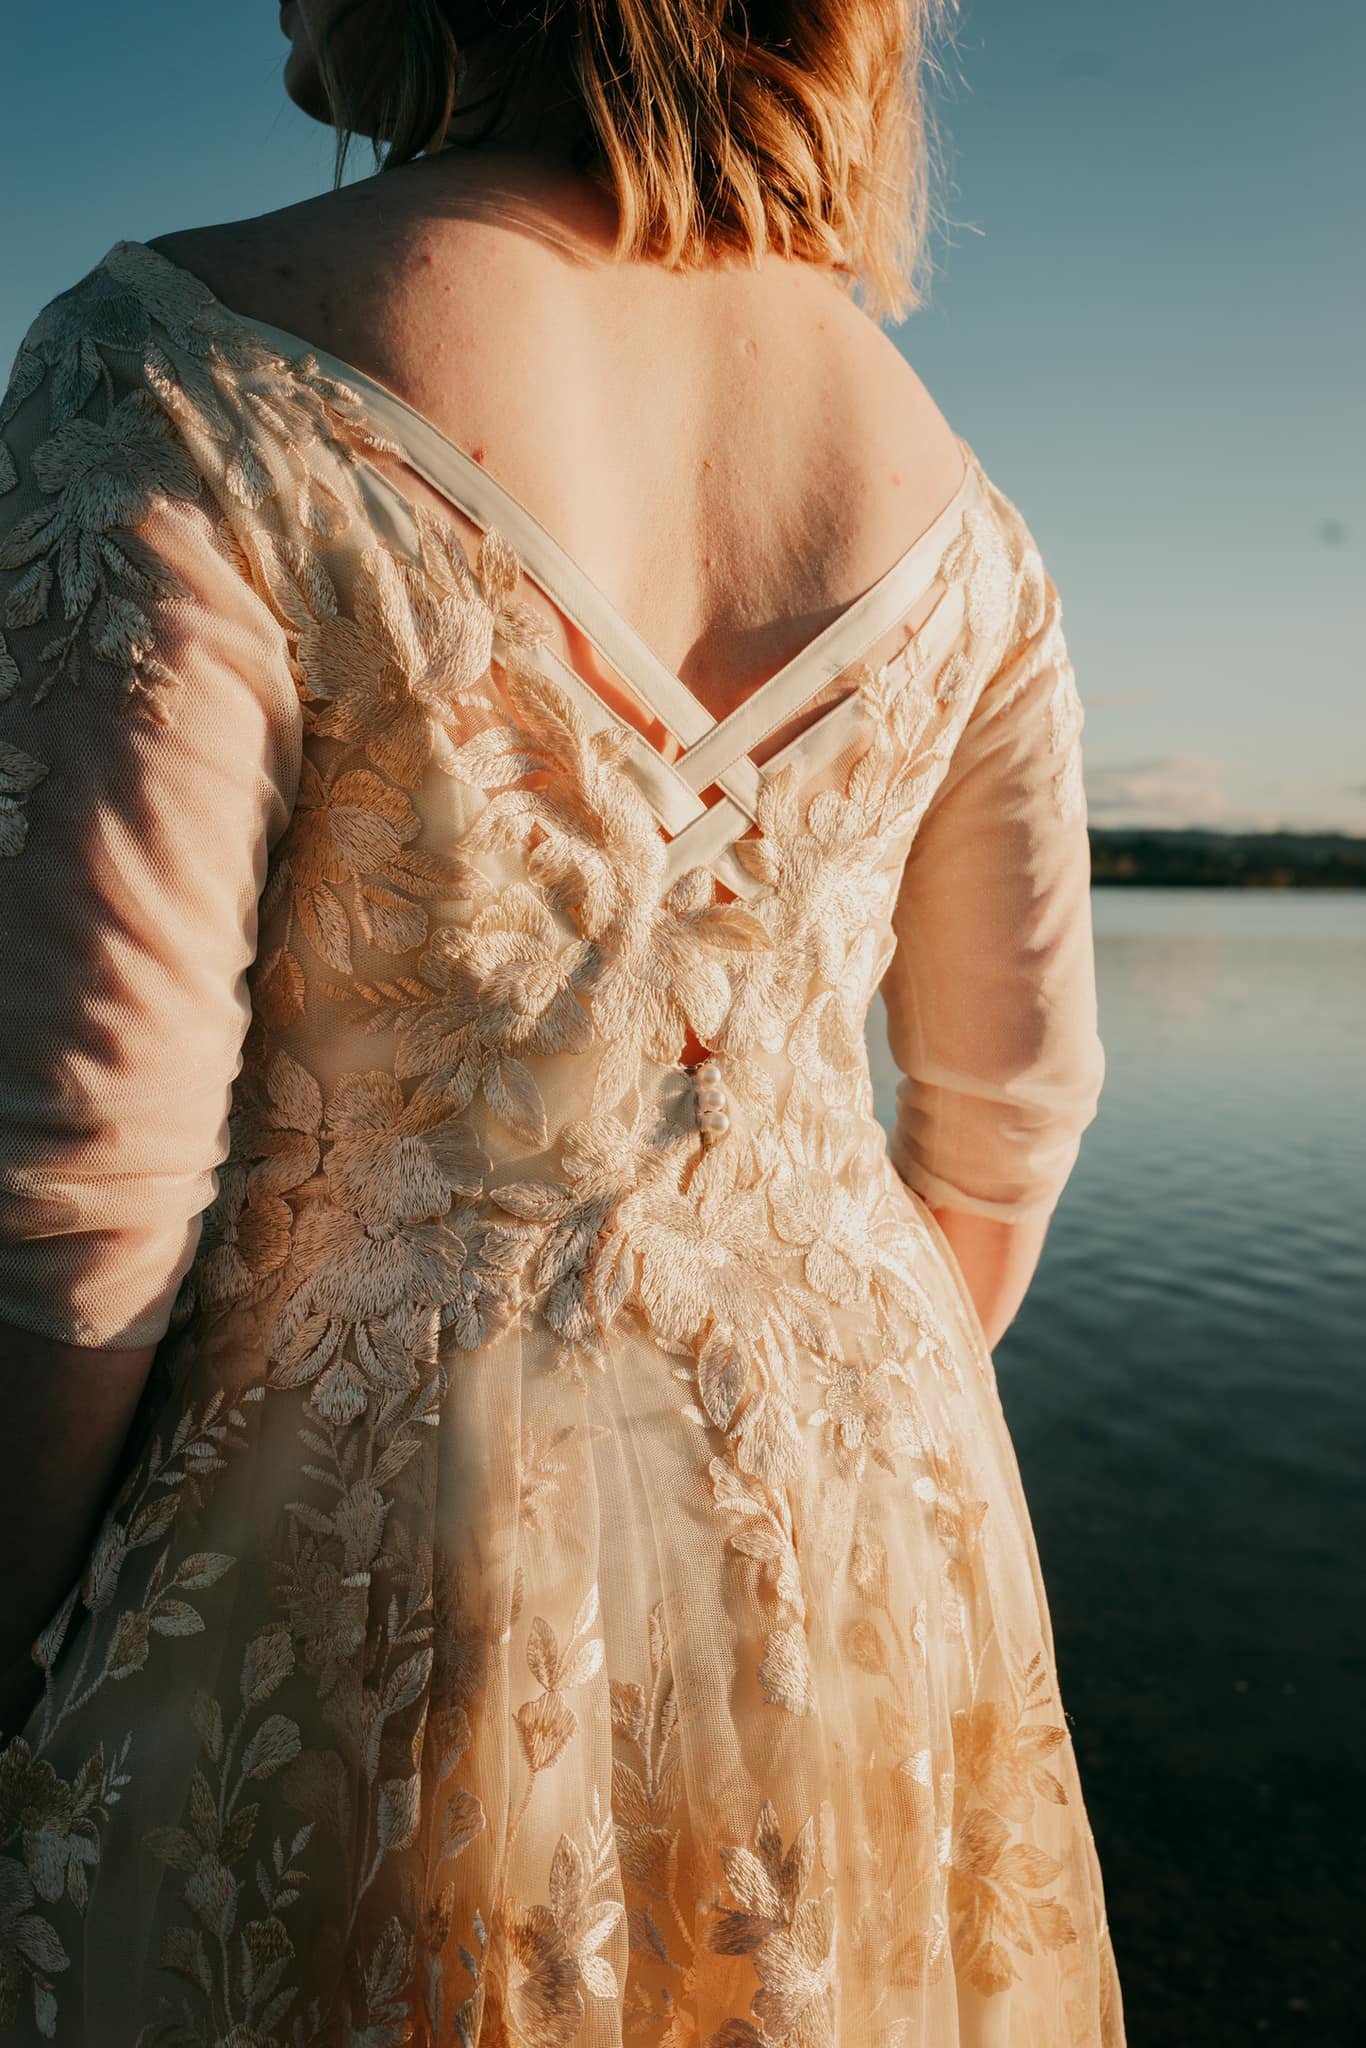
I had to do a lot of testing to make sure that the pattern was right before using the real fabric. So I used a similar but cheaper satin-like material to test it out. At this point I was quite happy with how the front was looking. I was also quite happy with how the back was looking and was planning on using strings of pearls and beads to support the open back.
However, I had a huge problem with the way the back was sitting. The material kept gaping out and I couldn’t figure out how to fix it.
I had already spent a solid month on drafting and testing the dress pattern. Thankfully a family member came to the rescue with some advice which saved the whole thing!
Once I had determined that the pattern was good to go, I got started on cutting out the pattern on the real material.
I tried to see how many strings of beads I would need for the back (I was thinking three or five strings). I ultimately decided not to go with this part of the design because it wasn’t that comfortable when I tried moving around with the dress on.
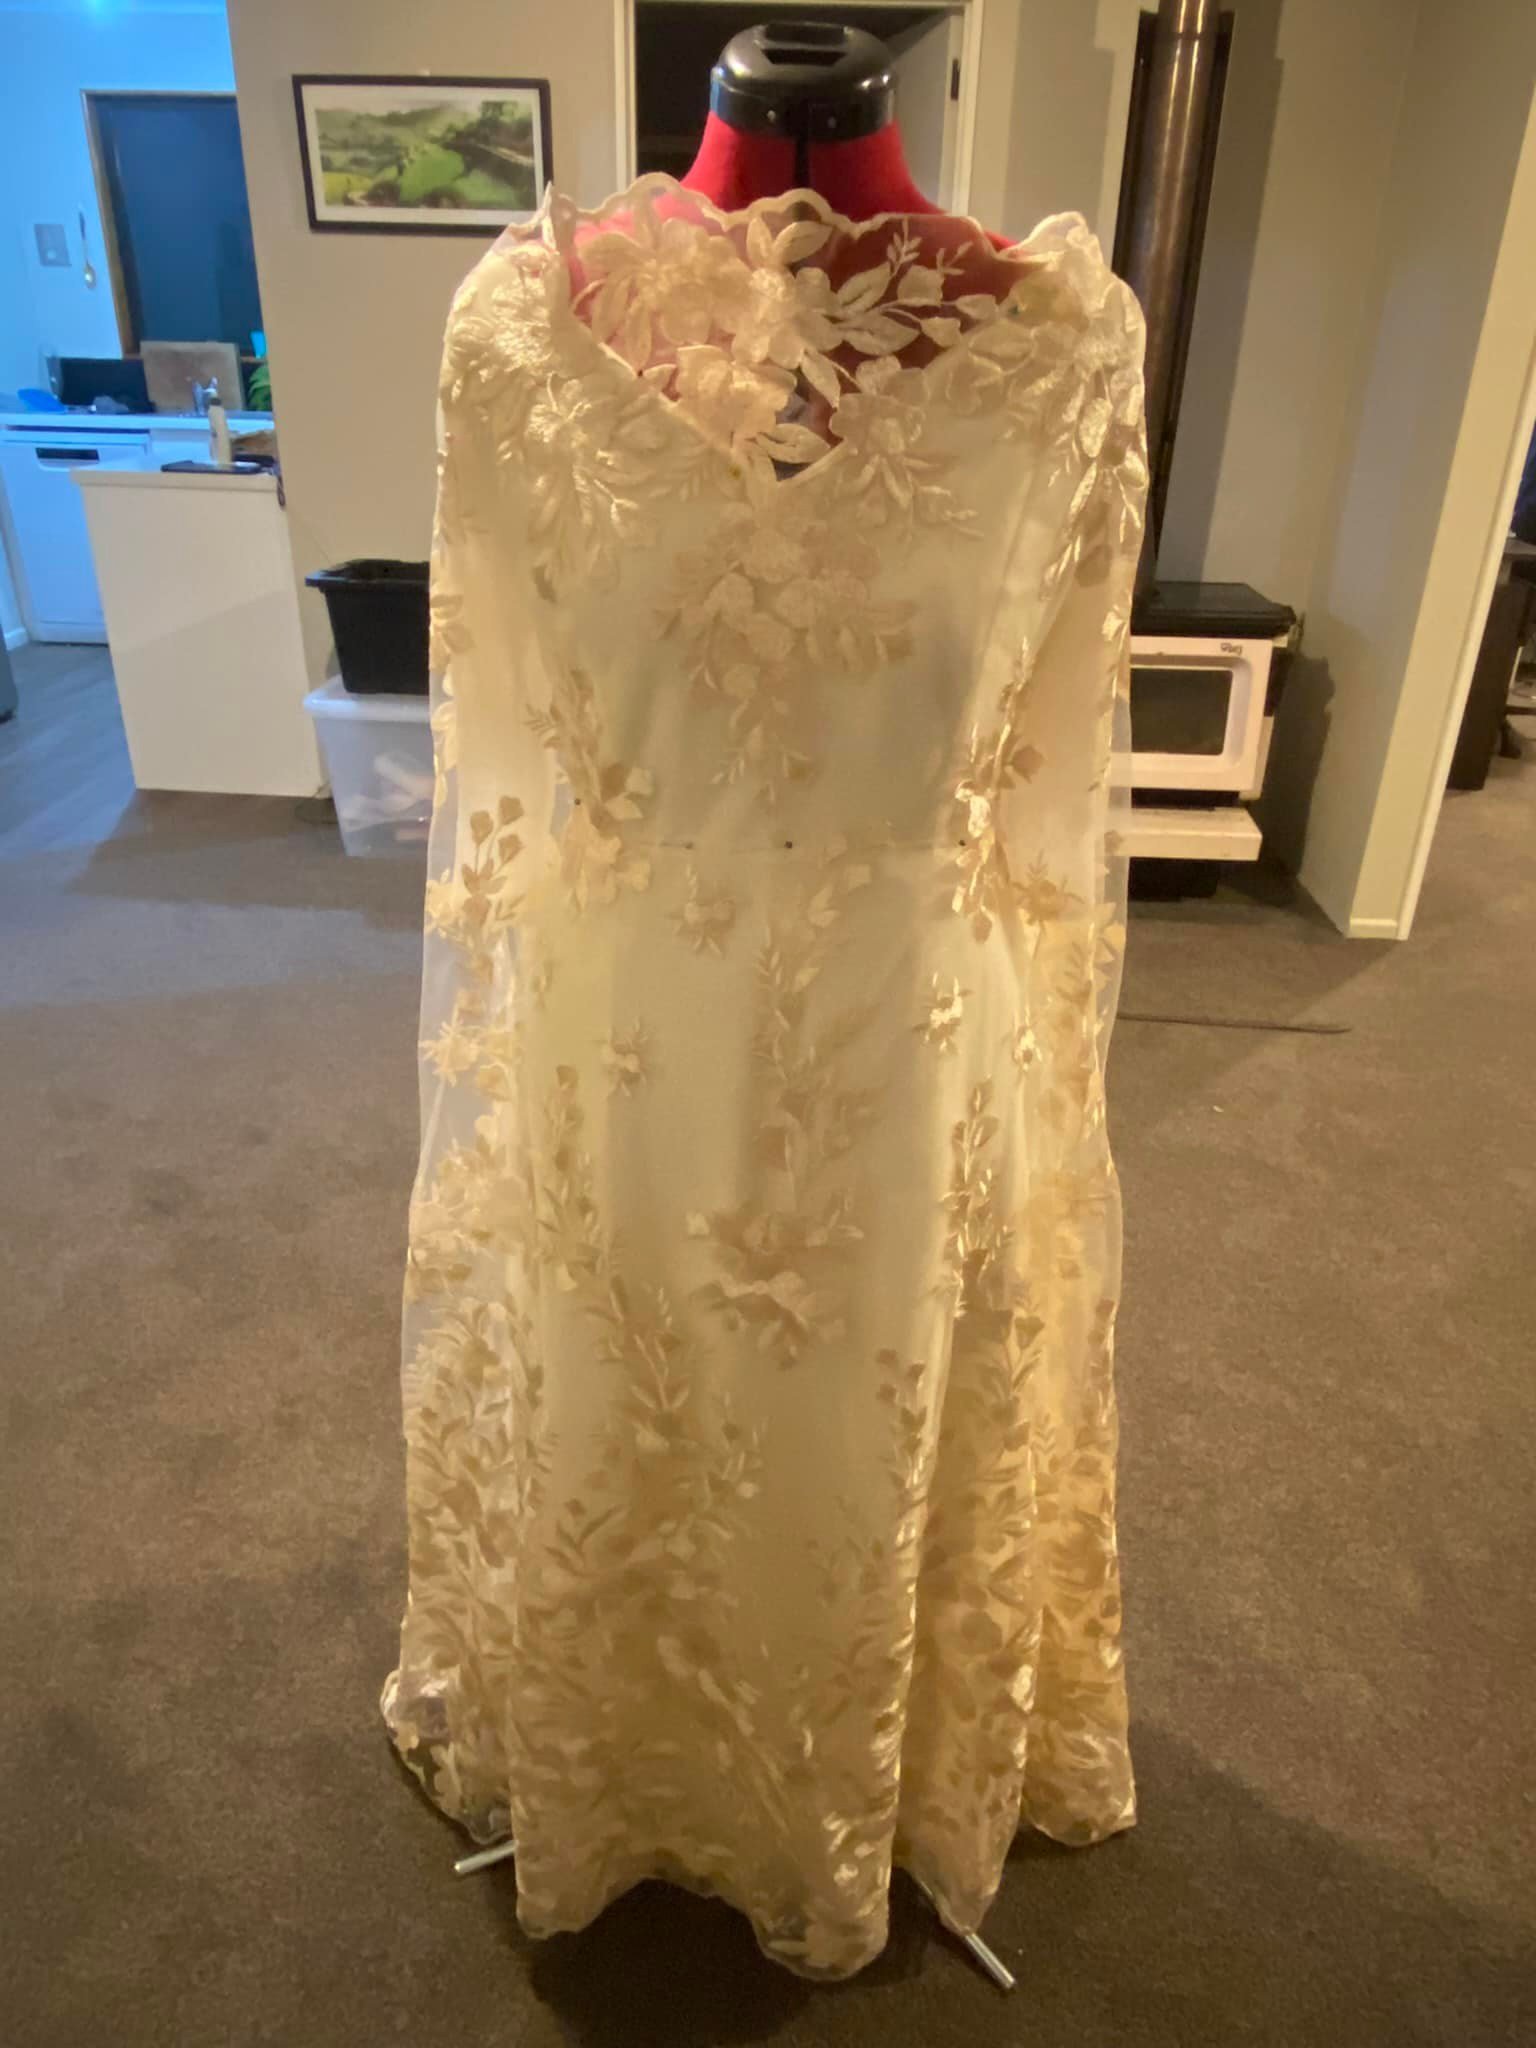
Before adding the lace layer, I draped the lace over the satin and tulle layers to see if I was still happy with how it looked (which I was thankfully!)
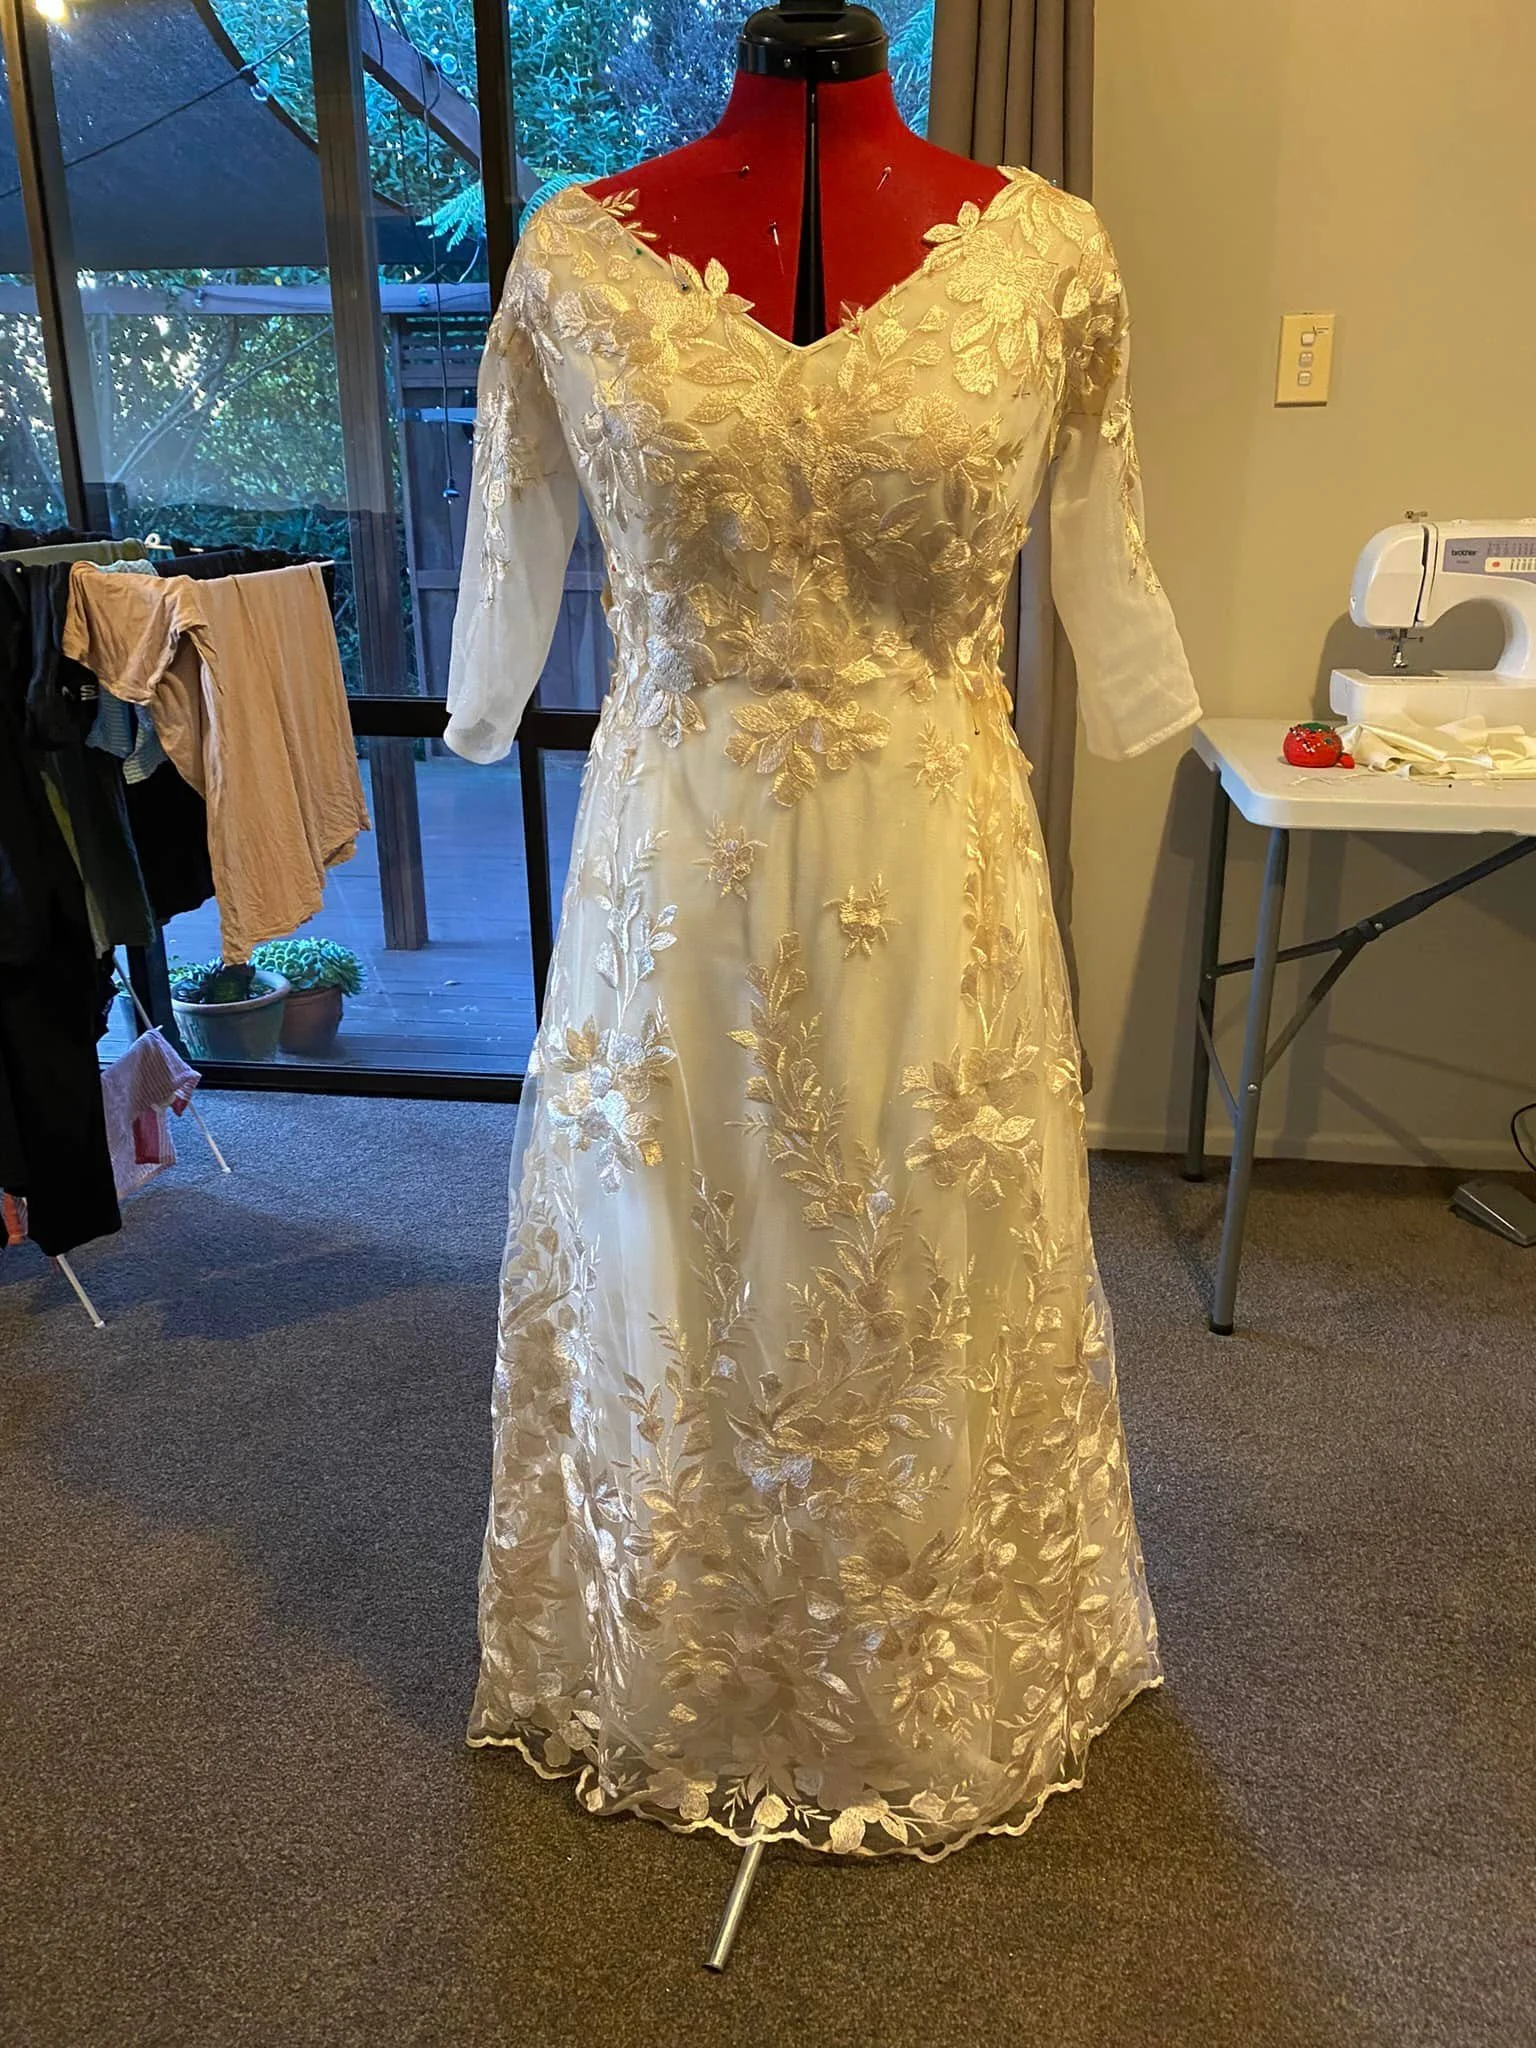
Without the strings of beads, I ran into another problem because the shoulders then had no support to stay up. So I sought advice again from my family member who helped me with this. The initial thought was to just have one cross-over but I liked the double cross-over because it looked more intentional (and cool!)
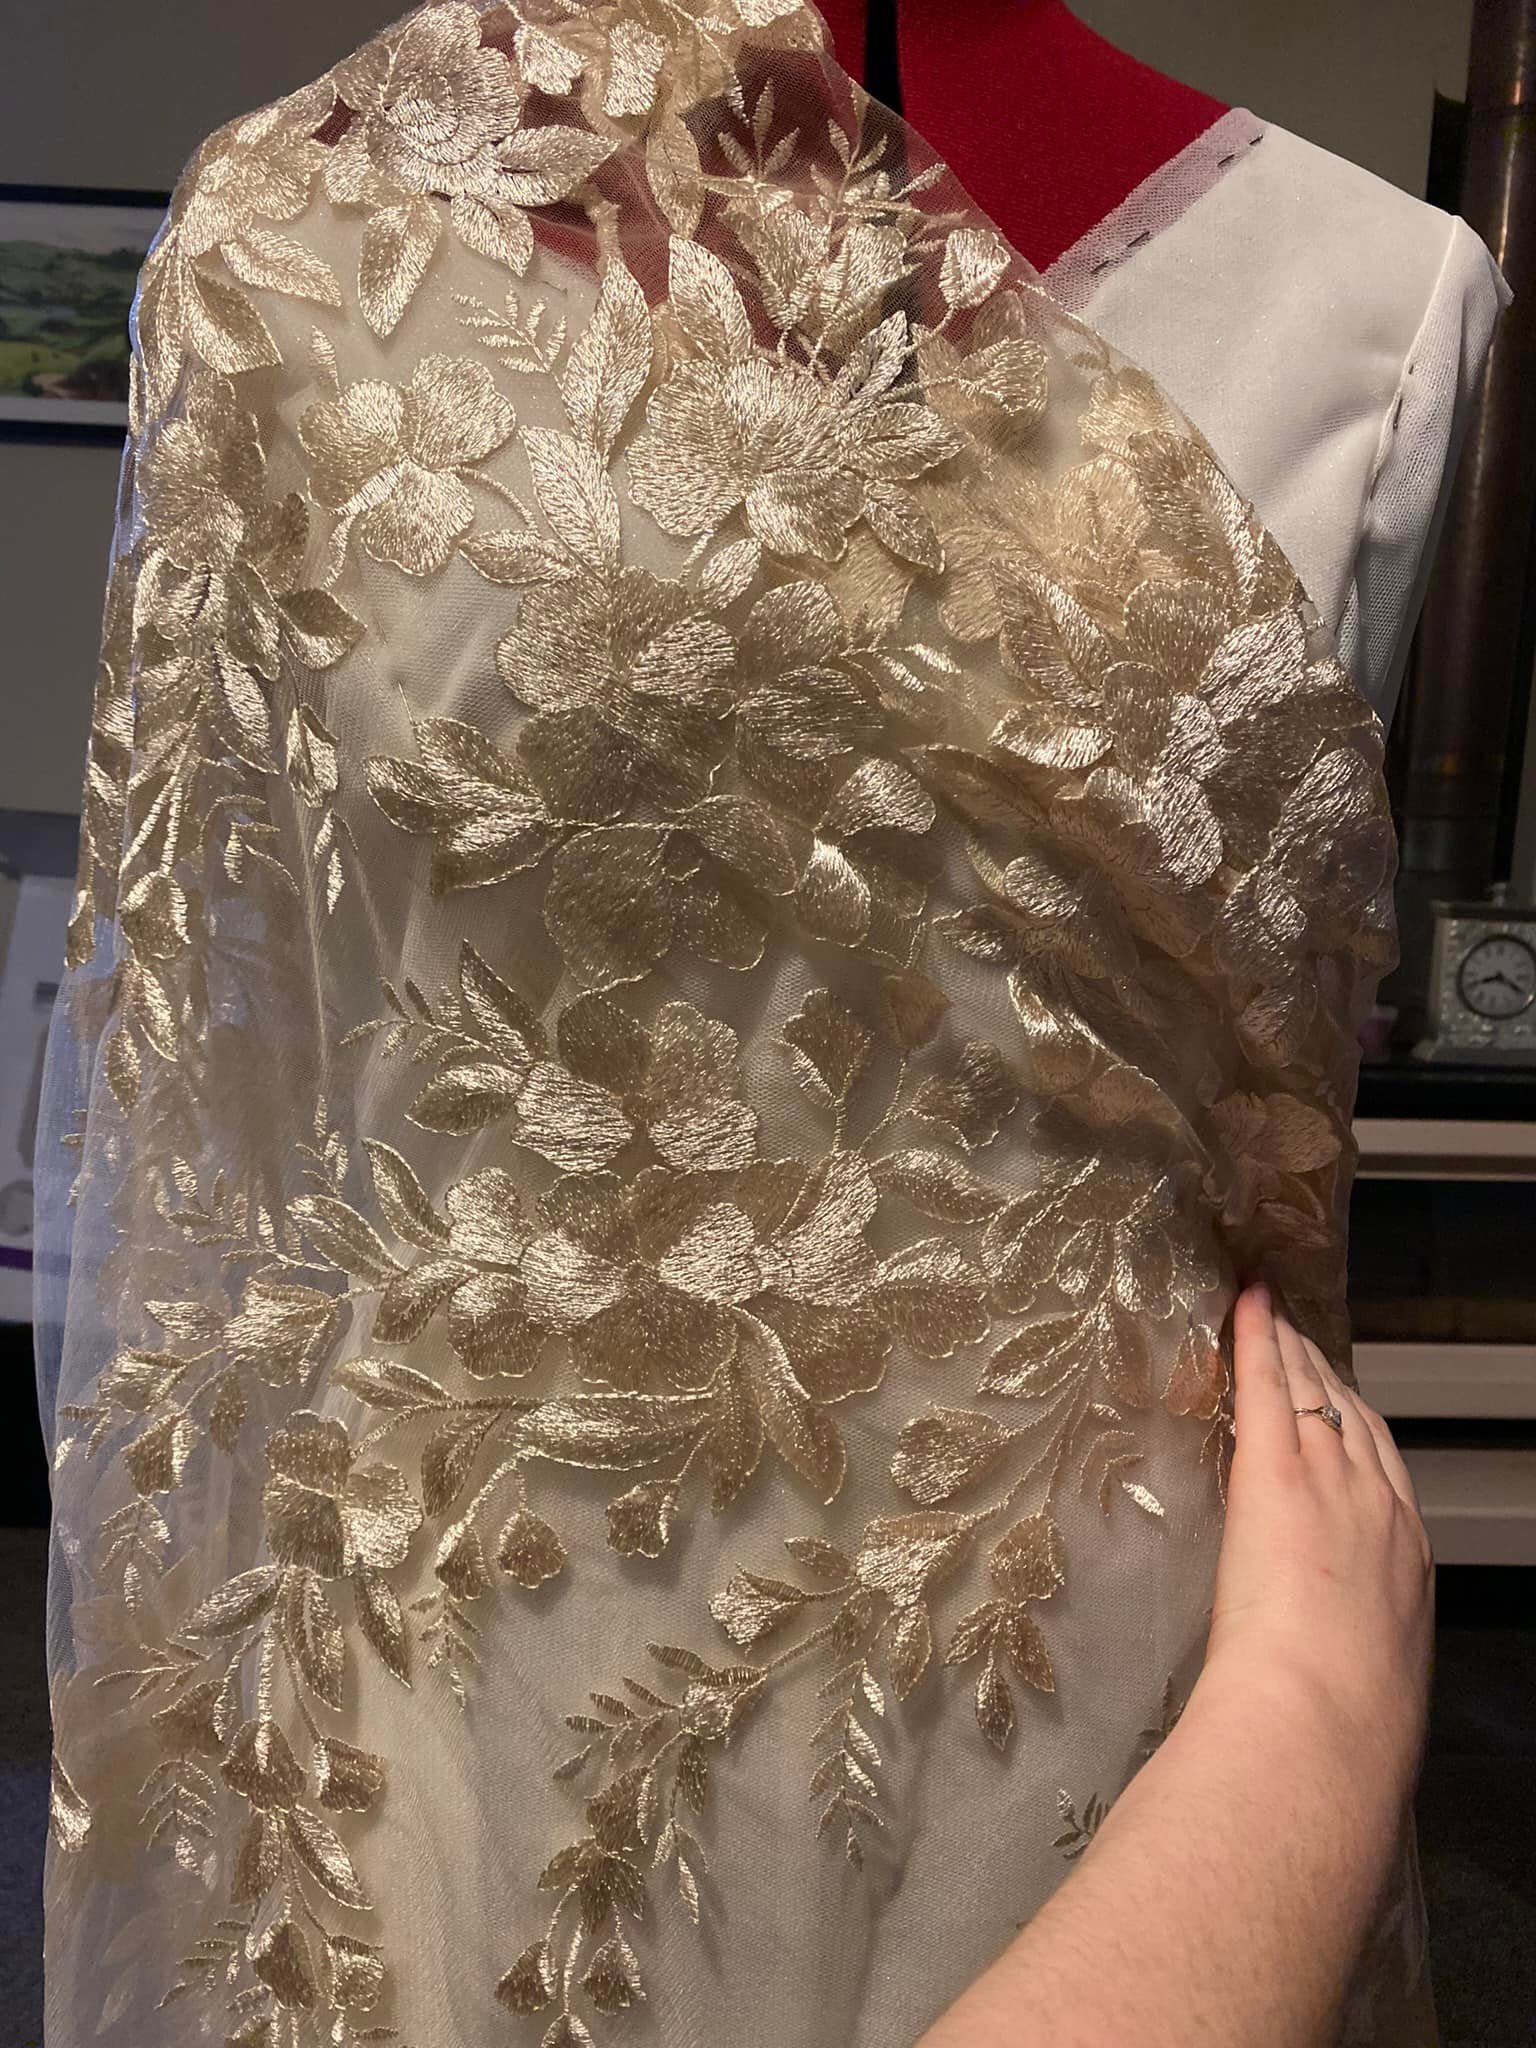
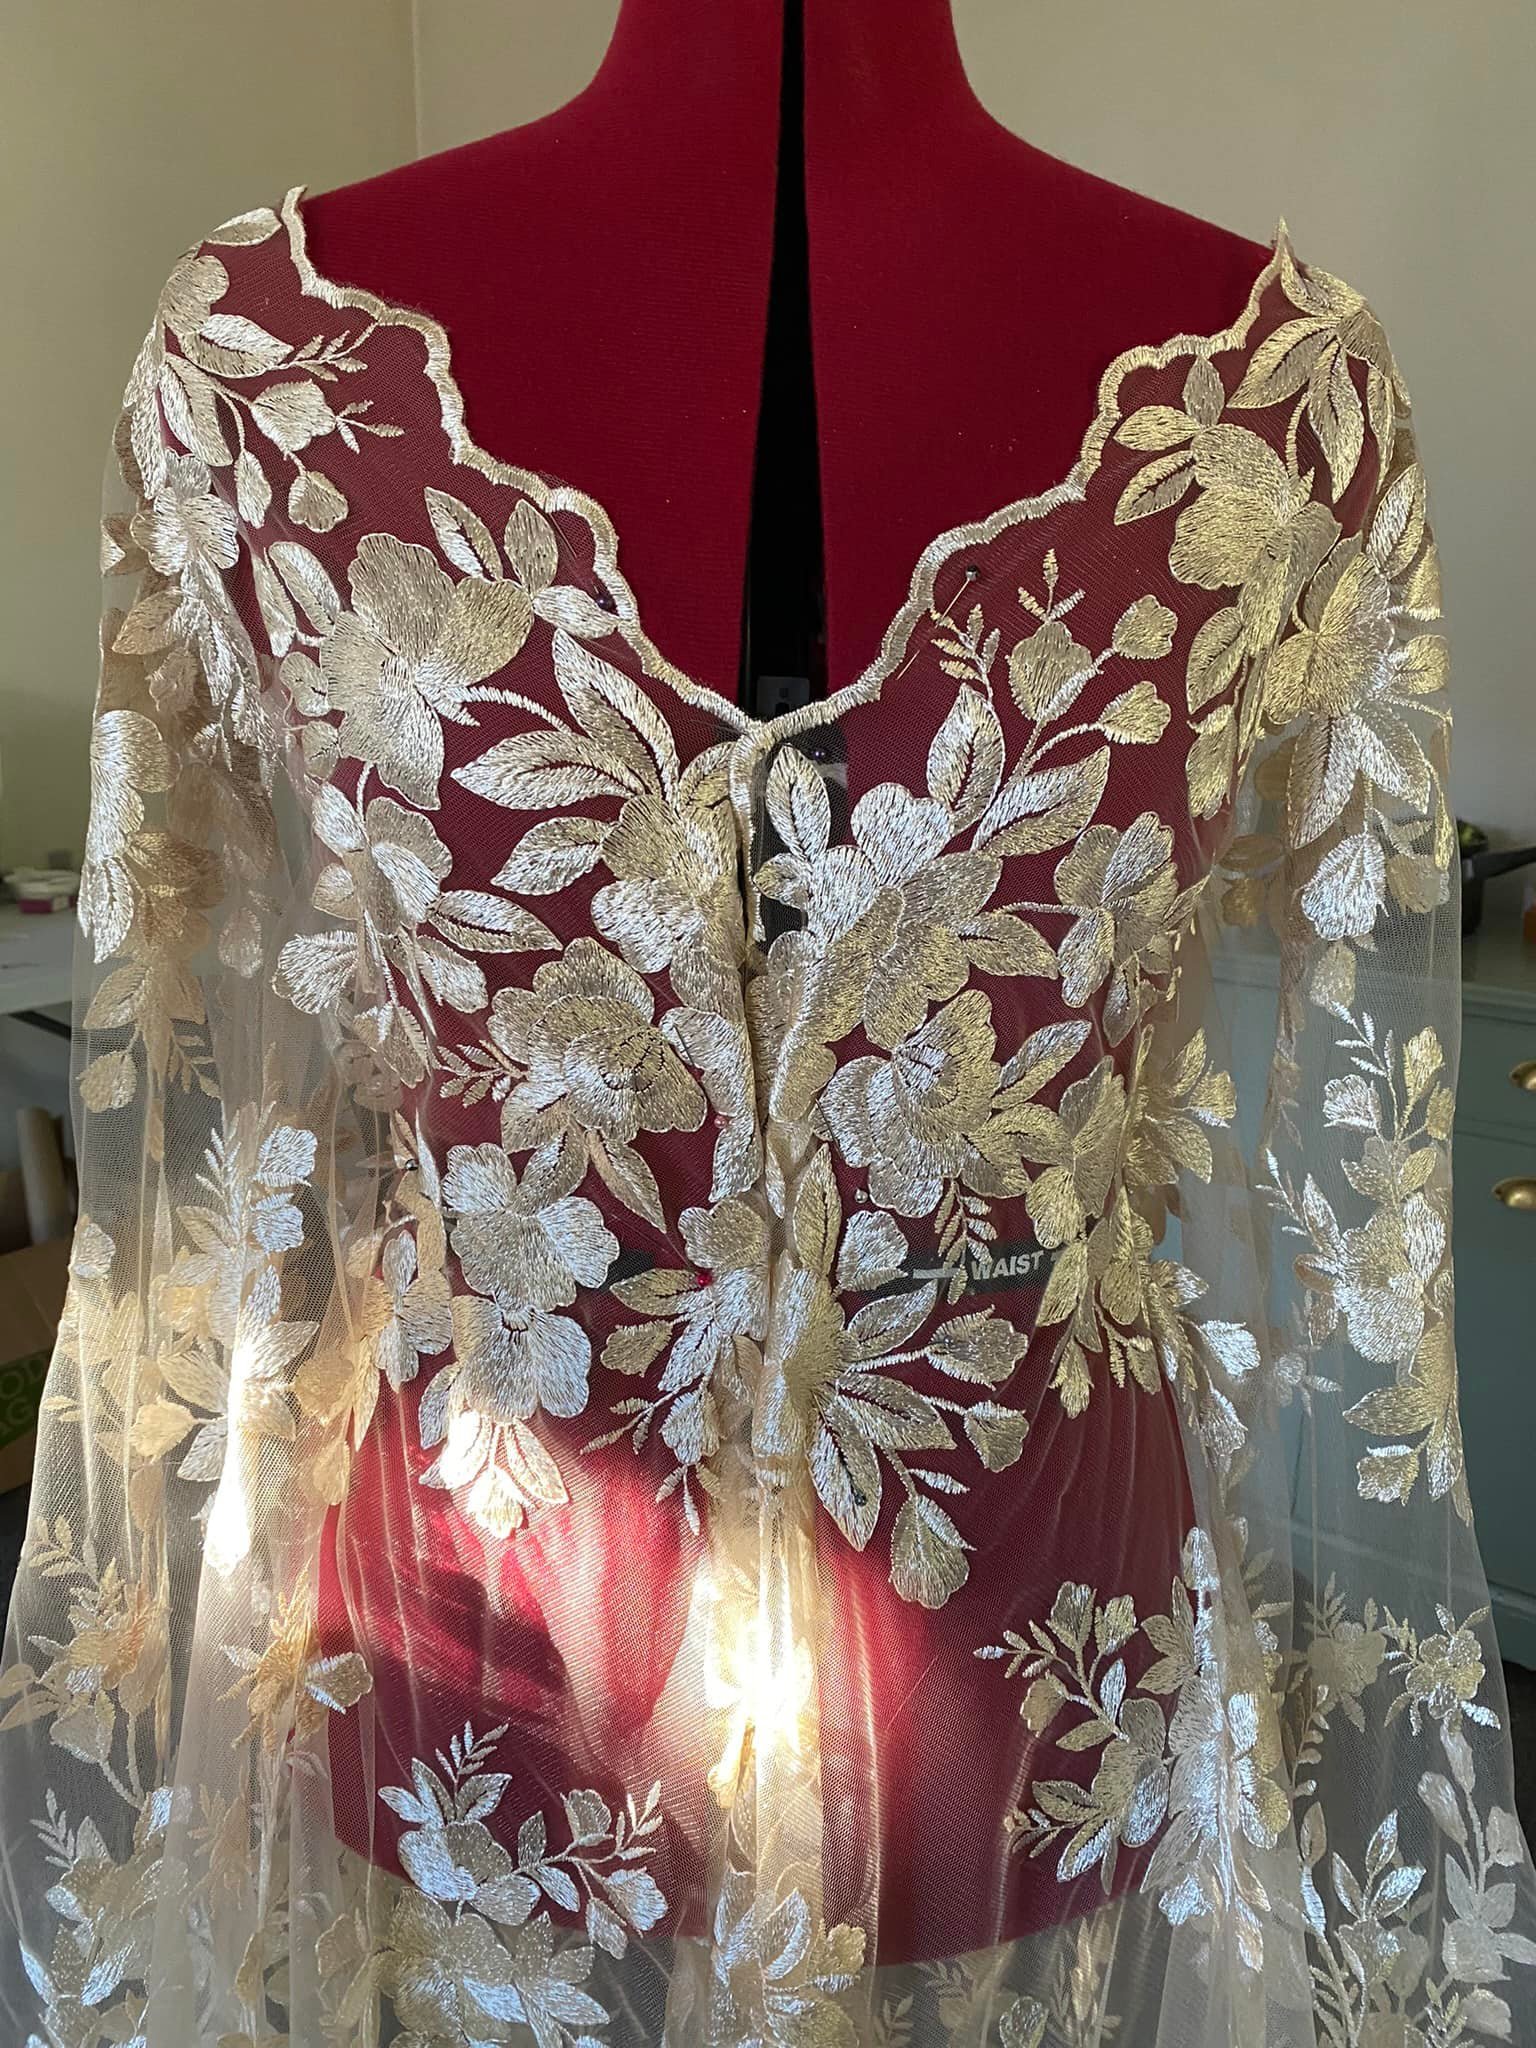
I did a lot of fabric draping for the lace layer to decide where I wanted the motifs before piecing it together and hand-sewing everything except the skirt.
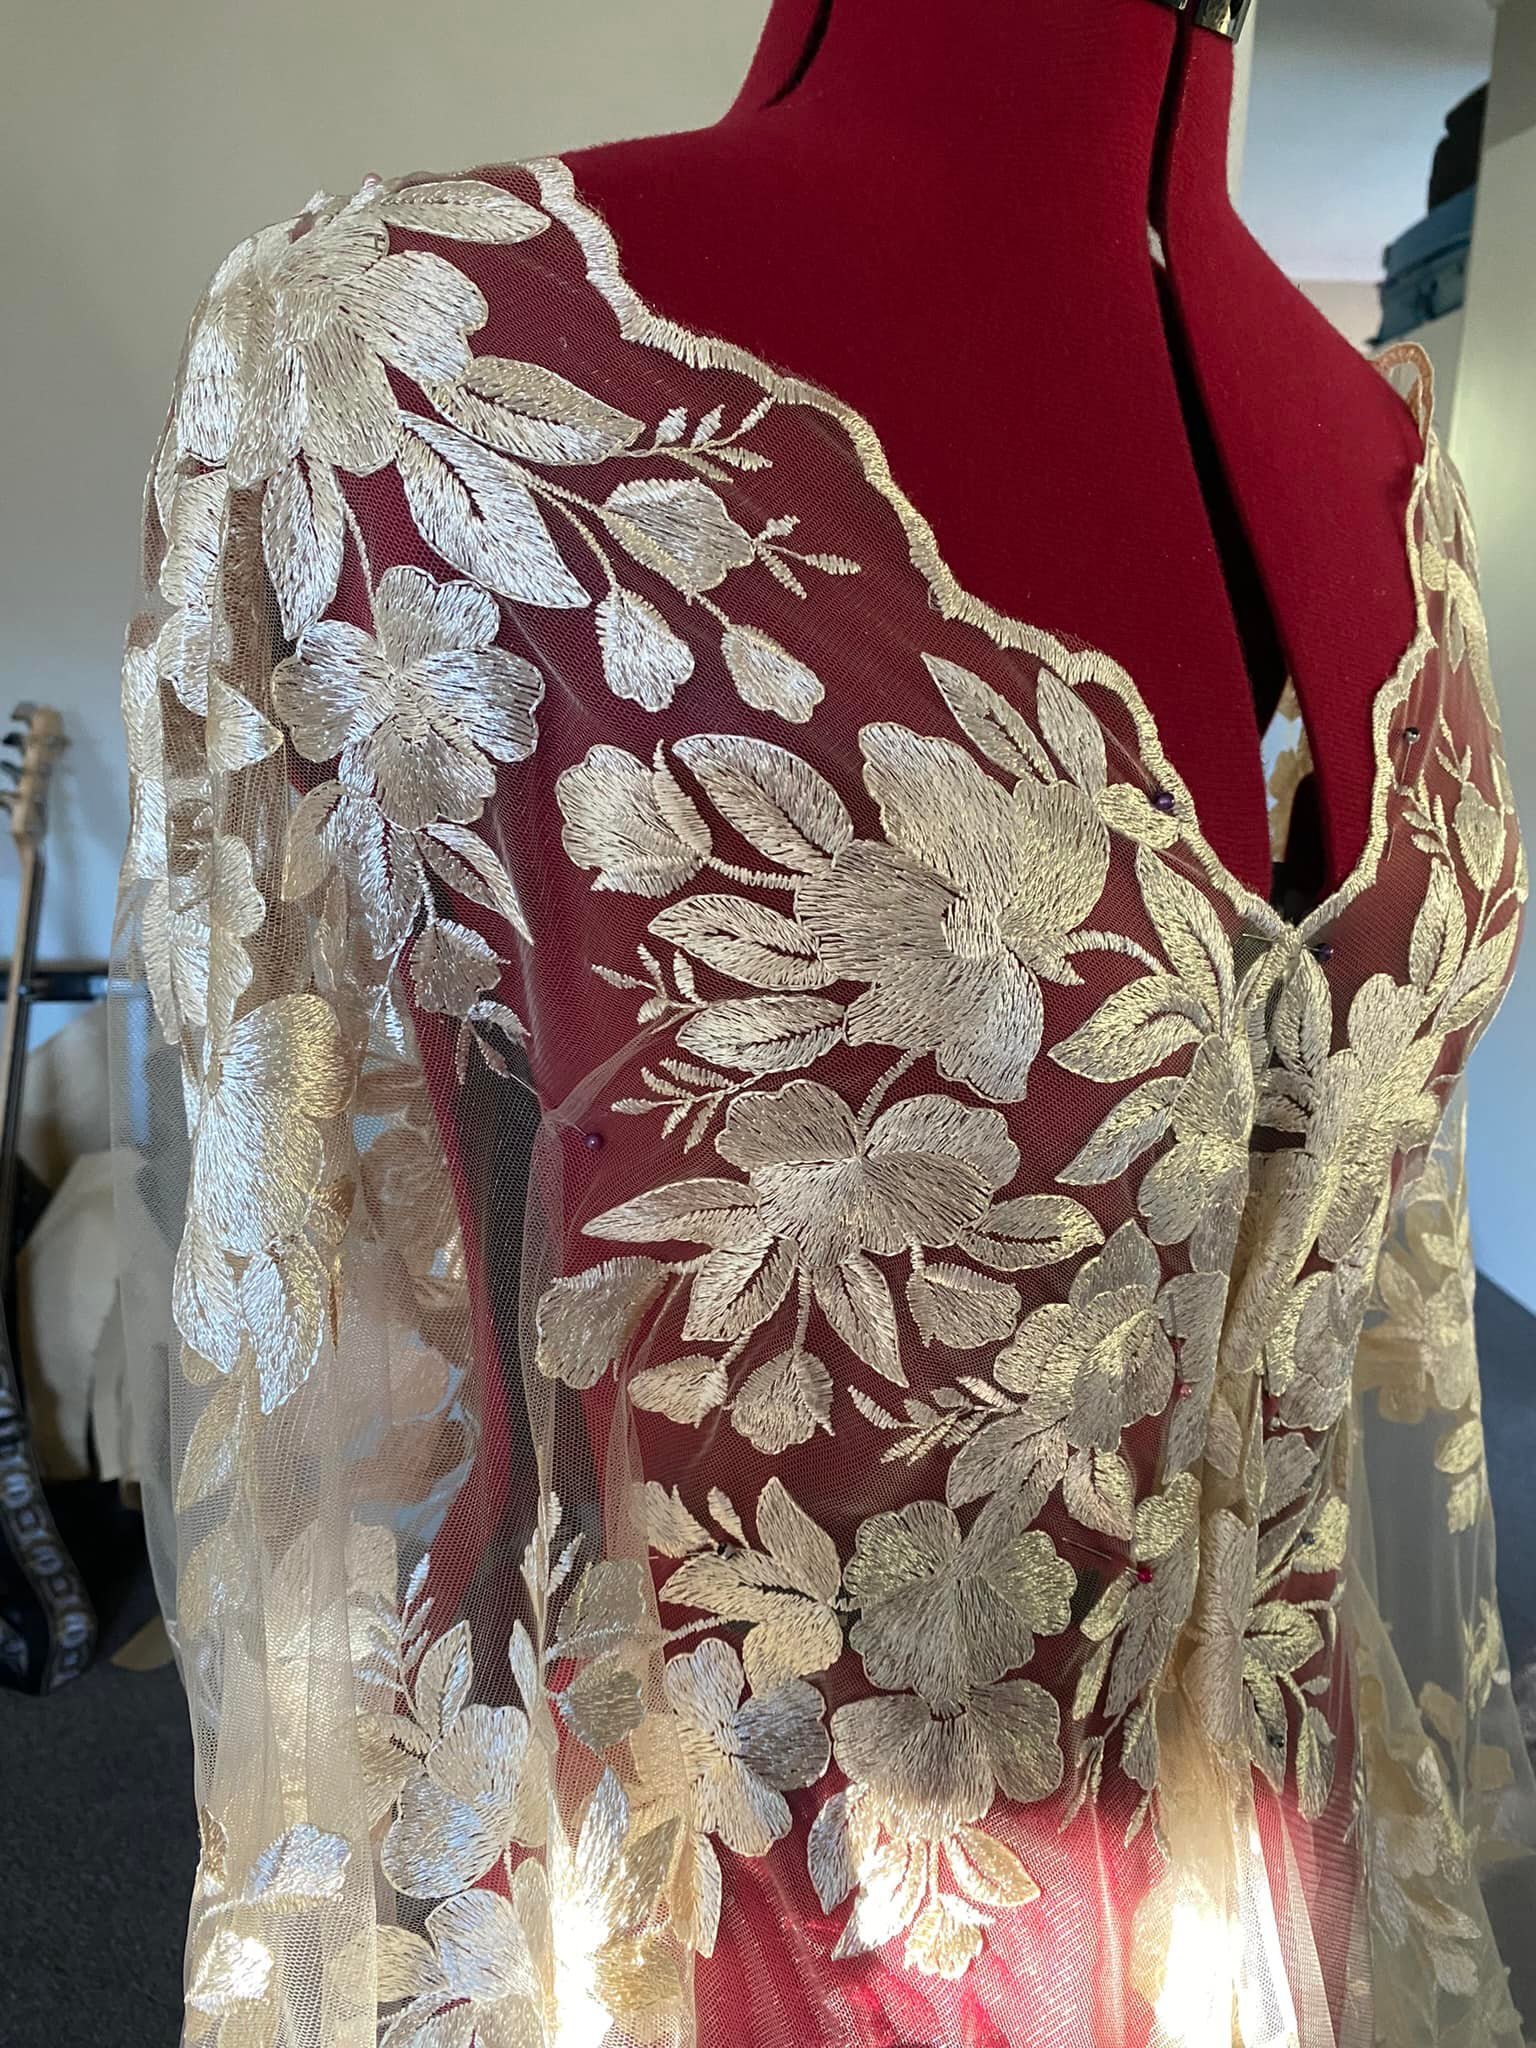
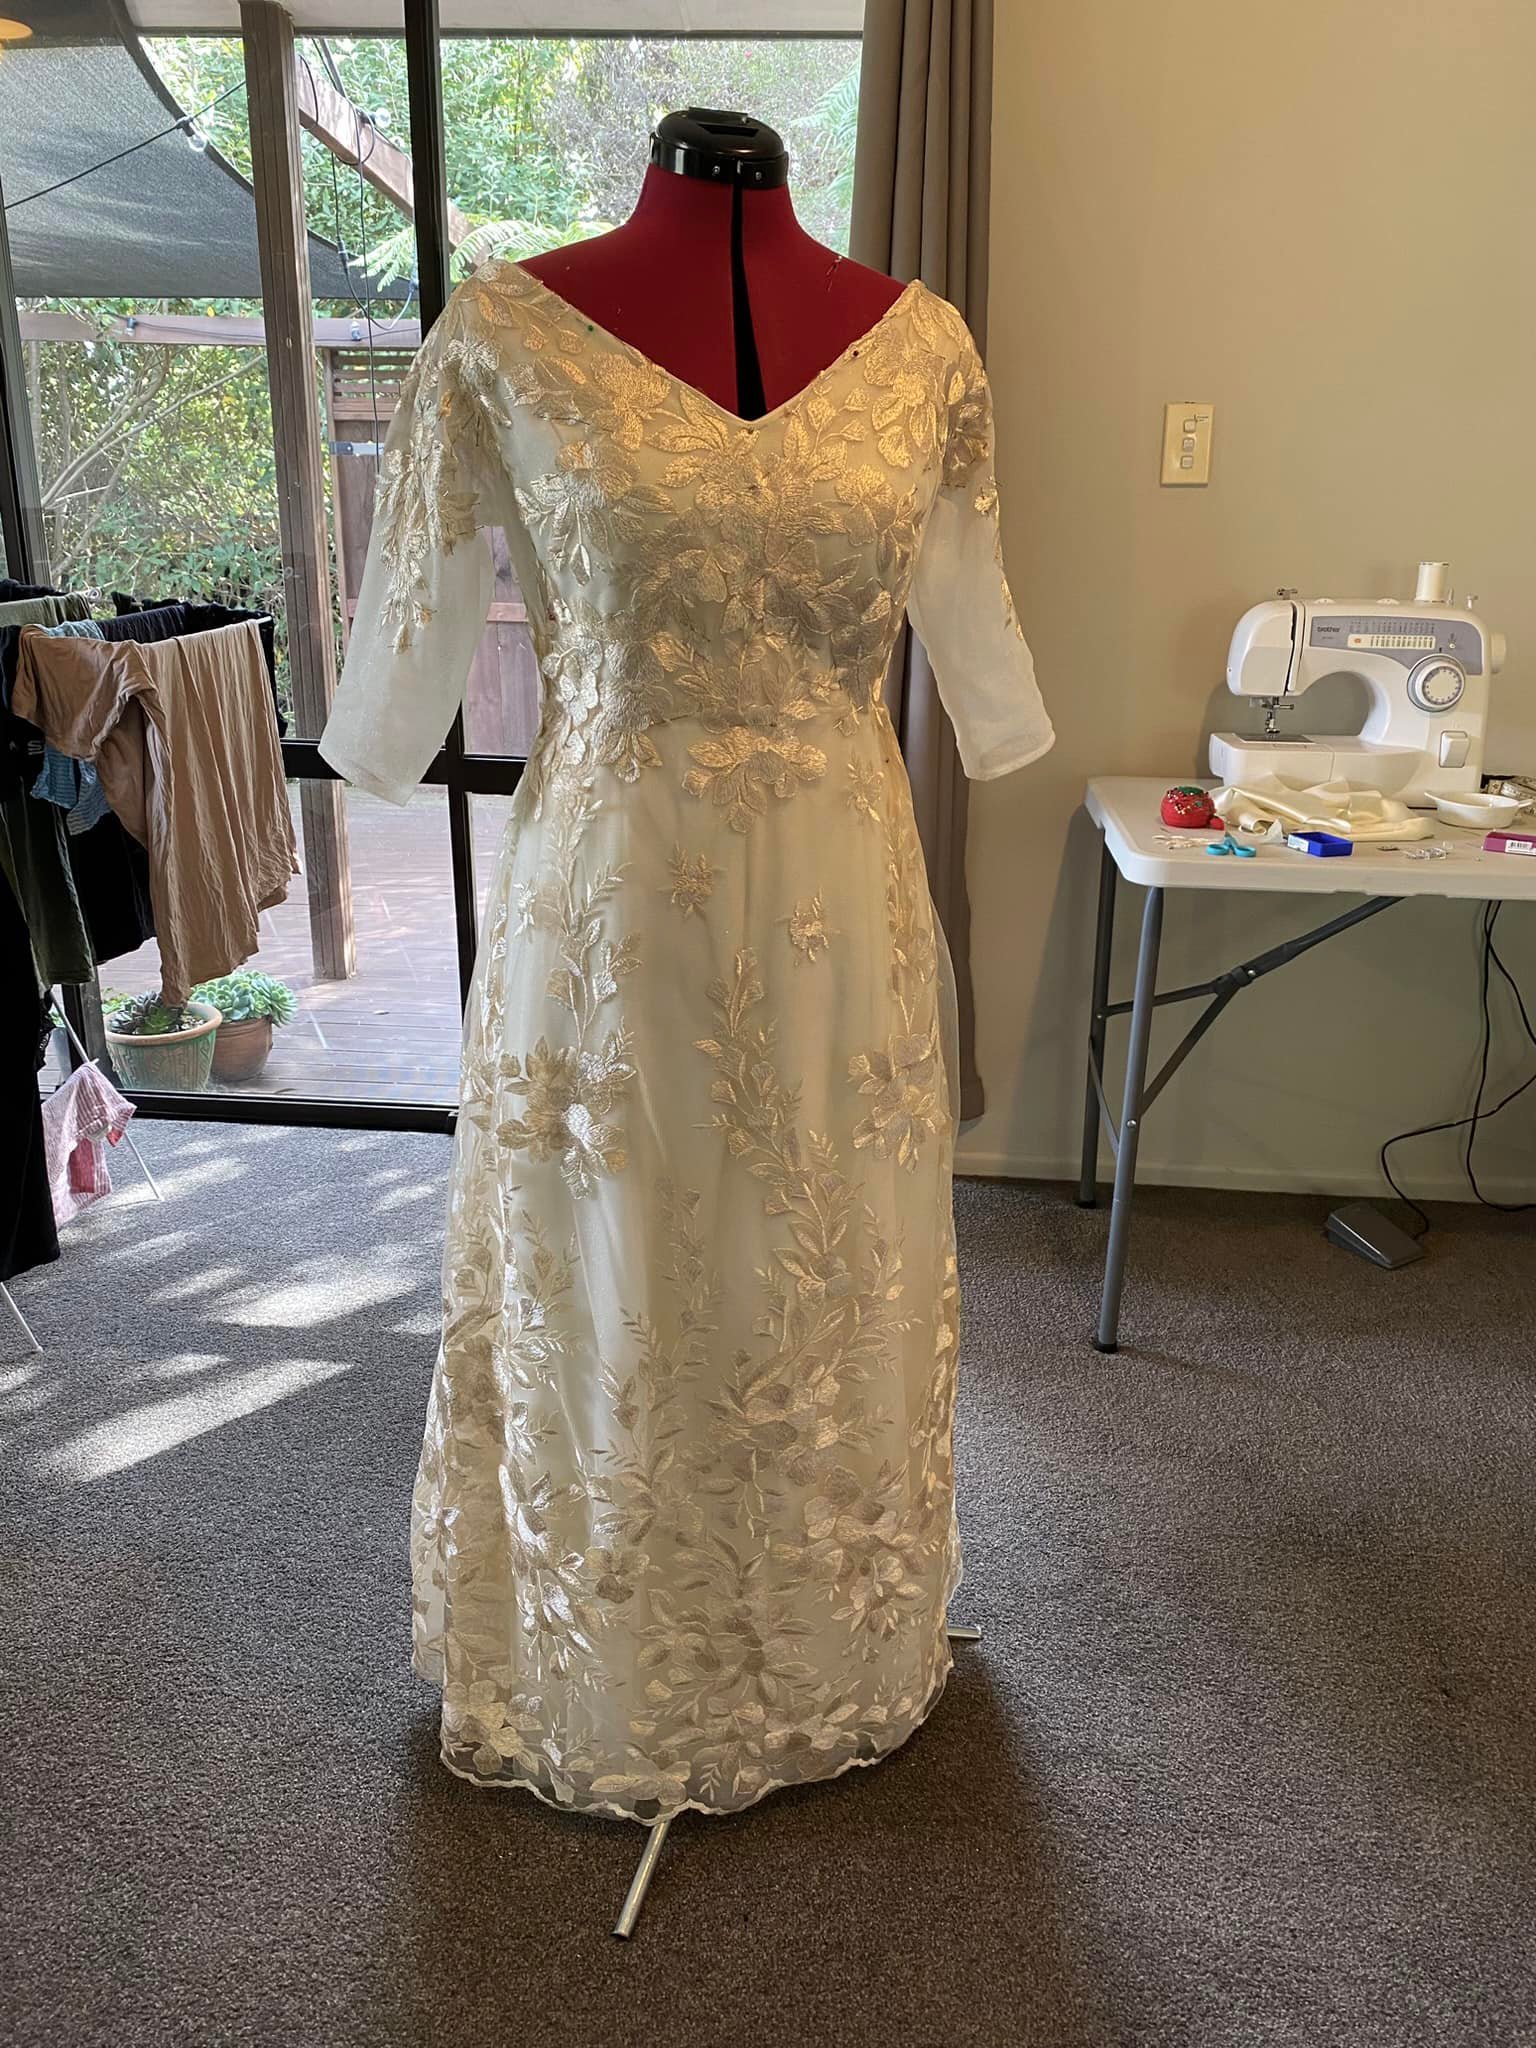
As I was cutting out the lace around the neckline, I wondered whether it would look cool to leave the motifs in tact and let them overlap the edge but I decided against this as I thought a clean edge looked much better! However, I loved how leaving the motifs in tact on the back made the cross-over straps feel more a part of the dress. I also pleated the back because I liked how it made the silhouette look.
After approximately 100 hours, I finished the dress 2 days before my wedding day!